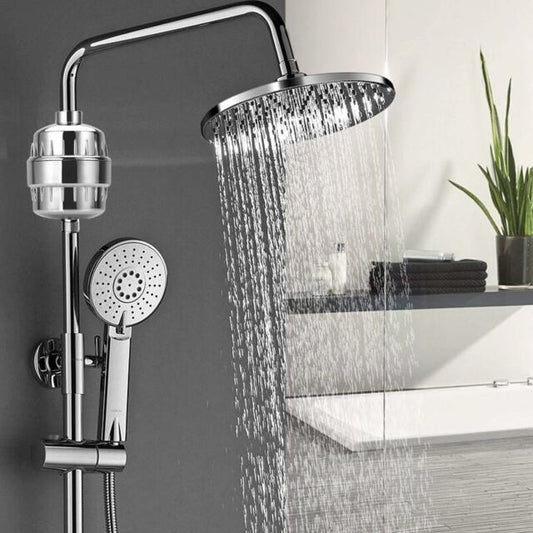
How To Clean A Water Softener
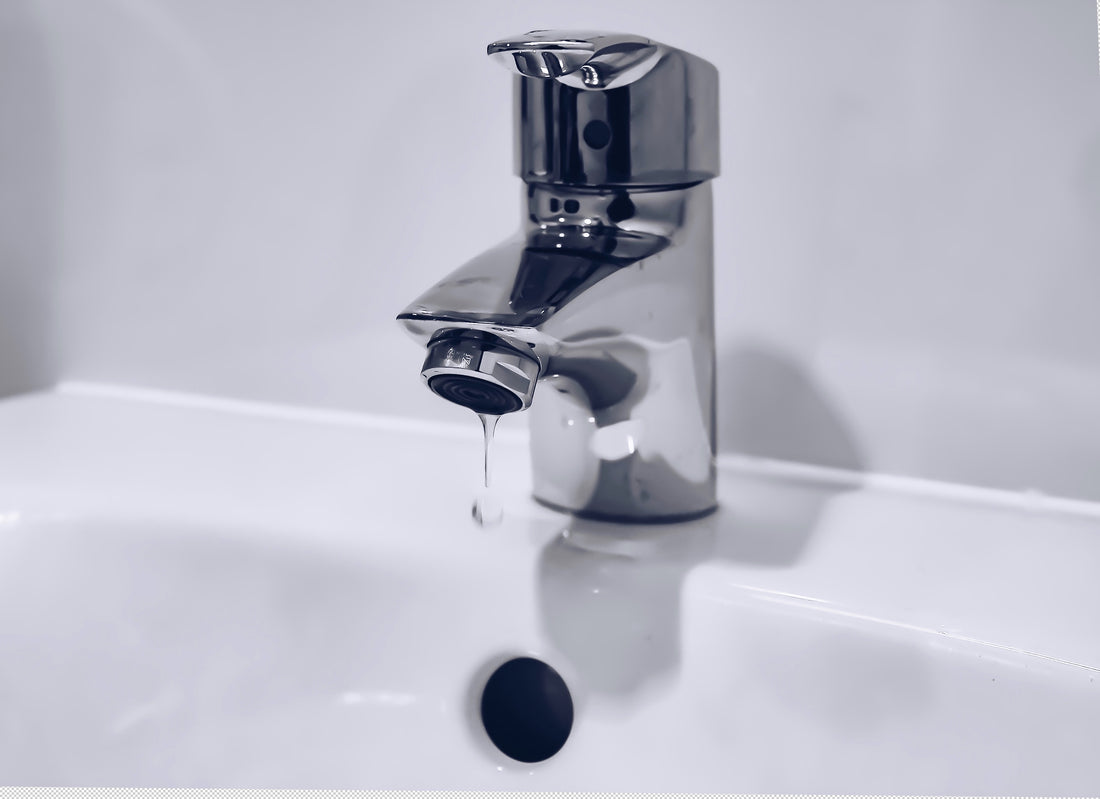
A water softener eliminates magnesium and calcium ions from the water, thereby protecting your home from hard water. Installing a water softener in your home will prevent your appliances from choking up due to buildups. When you have access to soft water, it will keep your laundry soft and bright. Also, it gives your hair a silkier and shinier look by keeping it healthy. However, to protect your home, you need routine cleaning and maintenance. With the formation of salt bridges, the hard water will course through your plumbing system and deposit limescale in the pipelines. The clogged resin bed will reduce the water pressure, which decreases the capacity of your softener to perform functions properly. To make the cleaning task easier, refer to the following steps and prevent salt bridges and other problems.
Cleaning Your Water Softener Tank
When you are cleaning the water softener tank, you cannot drink out the water at all. You need to wait for the manual regeneration cycle to over. The reason for this precautionary measure is the usage of bleach while cleaning. Another precaution that you need to take is the quantity of bleach you are using. You cannot 50 to 100 PPM as it will damage the resin beads. Furthermore, this quantity will be sufficient to kill the bacteria inside the tank.
1. Choosing the Cleaning Solution
The choice of cleaner solution depends on the water softener resin tanks, so consider what type of tank you have before purchasing the cleaner. Also, check the minerals that it eliminates. For instance, if the water is high in calcium, you need a cleaner that will remove calcium from the tank. You can search on the internet or read the user manual for a better understanding of the system.
2. Adding the Solution in the Tank
If you want to clean the tank efficiently, consider the amount of cleaner you use. Adding excessive or insubstantial solutions will not properly sanitize the tank. The cleaning product may include the instruction manual. You can read that before using it to identify the proper quantity. The instructions may not be according to the size of your tank. But, you can calculate the amount for your tank size. However, if you have a salt tank, you need to pour the solution into that tank. Because the solution will damage the salt, it would be better if you clean the tank when you are about to refill the salt.
3. Removing the Debris
Now change your water softener to regeneration mode. You can change the settings through a control valve. Changing to regeneration mode will eliminate the dirt. The system will manually clean the tank. After the first flush, some minerals will still remain in the tank. Therefore, you need to go through this process twice. However, if you still notice the buildup, you can flush the tank a third time. Once you notice that the tank is completely clean, you can move to the next step.
1. Switching to the Normal Mode
Now return the settings back to normal. For that, you need to go back to the control valve. Once the system is in normal mode, you can rinse the tank by running tap water. This will rinse out the cleaning solution from the tank.
Cleaning the Resin Beads
Another essential part of the cleaning process involves cleaning the resin beads. If you are using a commercial resin cleaner, it will replace the minerals with sodium ions. Some available cleaners remove all the minerals, while other products only target a specific element. For instance, if you will use the iron-mineral cleaner, it will turn the iron particle into liquid form.
The product varies, depending on the water softener you are using. Some manufacturers also include the amount of resin cleaner that you should use. You will find this information in the instruction manual. Once you know the right amount, you can pour the solution into the salt tank or brine tank of your system. The resin cleaner includes sodium ions that will clear the mineral buildup and clean the beads. Rinse the beads with the water and remove the minerals from the softener.
Cleaning the Filter
Many owners do not find it important to clean their system’s pre-filter. This quickly makes the water dirty. Therefore, you need to make sure that your filter is always clean. If you have reusable filters, cleaning can be tough, but it is worth it for the health of your system and your family.
Using disposable filters as a replacement can be convenient as well. Disposable filters are more efficient and will continue the filtering process longer than reusable ones. But if you are okay with reusable filters, you can read the cleaning instruction that comes along with them. Different companies recommend different cleaning processes. Therefore, follow the instructions of the company you are sticking with.
Cleaning the Brine Tank
Cleaning the brine tank will help avoid salt bridges, salt sludge, or any other buildups. It also helps transfer the brine water without potential clogs by eliminating the salt chunks. If you notice the salt bridges, disconnect the lines and connect the water softener with the brine tank. Now, pass hot or warm water through the pipes to eliminate the debris or salt from the tank.
Mix some dish soap into the water to make some suds. After few minutes, clean the water from the tank. Now add two tablespoons of bleach in three gallons of water and properly clean it out. Once you are done with it, pour the water softener salt and water back into the tank.
You can read about our other popular reviews on Culligan, Kinetico, Rayne Water, and waterboss.
Conclusion
Cleaning the water system can be an extensive task. In some cases, you may require help from professionals. This can be expensive but will benefit you in the long run. Eventually, you will be saving your time, trouble, and money. When cleaning the system on your own, you need to be careful. Sure, it’s a hassle, but cleaning the water softener will increase the life of your system.