Installing a water softener can significantly improve the quality of your water and protect your appliances from the damaging effects of hard water. While some homeowners opt to hire professionals for water softener installation, others consider the possibility of a DIY approach to save money and gain a sense of accomplishment. In this blog post, we will explore the feasibility of installing a water softener yourself, discussing the considerations, steps involved, and potential challenges to help you make an informed decision.
Considerations Before Installation
Before embarking on a DIY water softener installation, it is important to consider a few crucial factors:
-
Plumbing Knowledge: Assess your level of plumbing knowledge and skills. While installing a water softener is not overly complex, it does require a basic understanding of plumbing and household water systems.
-
Local Regulations: Check local building codes and regulations regarding water softener installations. Some areas may have specific requirements or permits that need to be obtained.
-
Space and Accessibility: Evaluate the available space for installing the water softener. Ensure there is sufficient room for the equipment, access to water and drainage lines, and proximity to electrical outlets if needed.
Steps for do it yourself Water Softener Installation
Gather the Necessary Tools and Materials: Begin by collecting the tools and materials required for the installation, such as a water softener unit, bypass valve, connectors, tubing, and pipe fittings. Refer to the manufacturer's instructions to ensure you have everything needed for your specific model.
-
Shut Off Water Supply: Locate the main water supply valve and shut it off to prevent water flow during the installation process. It's crucial to turn off the power supply as well, if applicable.
-
Choose the Installation Location: Select an appropriate location for your water softener unit. Consider factors such as accessibility, plumbing connections, and drainage. Ensure there is enough space for future maintenance and regeneration cycles.
-
Connect the Water Softener: Follow the manufacturer's instructions to connect the water softener to the main water supply line, bypass valve, and drain line. Use the appropriate connectors, fittings, and tubing, ensuring they are secure and leak-free.
-
Install the Brine Tank: Position the brine tank near the water softener unit and connect it using the provided tubing. Fill the tank with salt or potassium chloride as instructed by the manufacturer.
-
Regeneration Settings: Set the regeneration schedule and adjust the settings on the control panel of the water softener unit. Refer to the user manual for guidance on the specific settings for your model.
Potential Challenges and Considerations For Self Installation
While a DIY water softener installation is feasible for some homeowners, there are a few challenges and considerations to keep in mind:
-
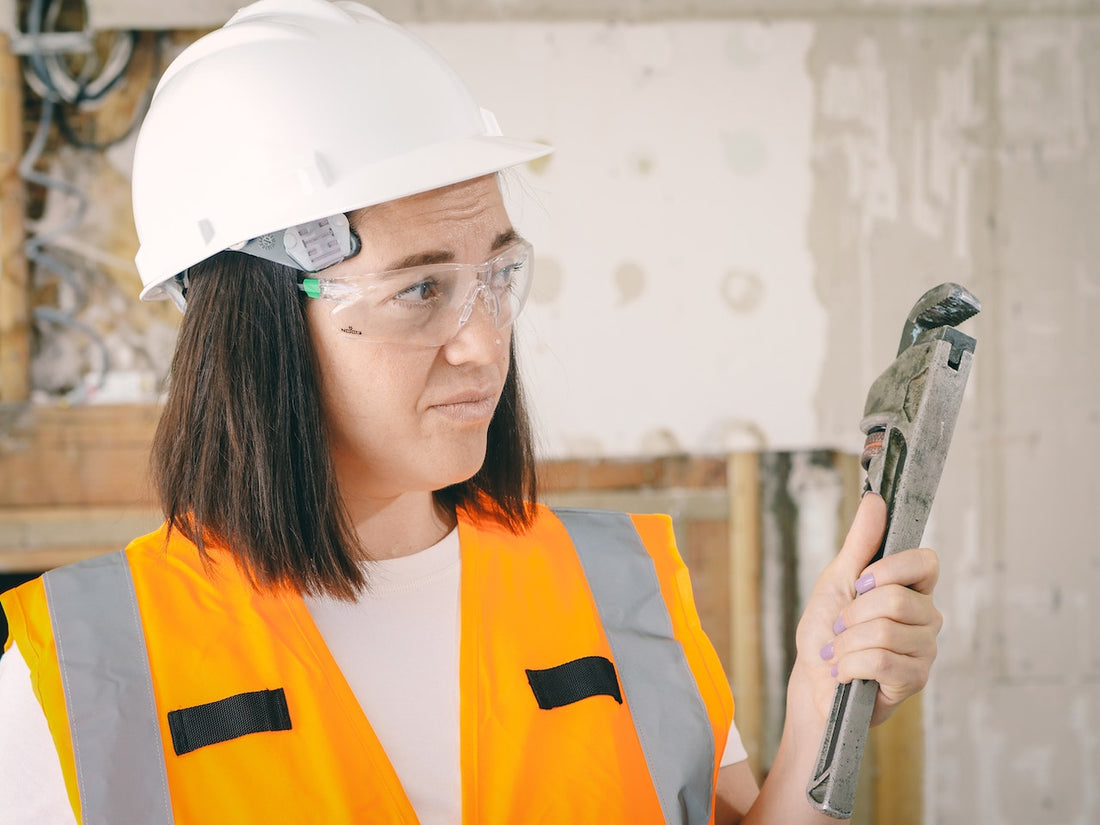
Plumbing Complexity: If you have limited plumbing experience, the installation process may pose challenges. Ensure you have a good understanding of the plumbing system and consult professional advice if needed.
-
Warranty and Support: Installing the water softener yourself may affect the warranty provided by the manufacturer. Consider whether you are comfortable troubleshooting and addressing potential issues that may arise in the future.
-
Time and Effort: DIY installation requires time and effort, from gathering the necessary tools and materials to following instructions carefully. Assess your availability and commitment to completing the installation successfully.
While installing a water softener yourself is feasible for those with basic plumbing knowledge and skills, it is essential to carefully consider your abilities, local regulations, and the potential challenges involved. If in doubt, it is recommended to consult a professional plumber to ensure a proper installation and avoid potential complications down the line.