


Approximately 85% of American households are impacted by hard water.
Hard water is water that contains high levels of calcium and magnesium. Now, even though having minerals in your water might seem like a great thing, it’s not. These minerals tend to deposit on water fixtures, and appliances, creating scale buildup, thus reducing their efficiency and lifespan.
Water softeners are designed to soften water by drastically removing the calcium and magnesium levels contained in your water.
And the great news is that if you’re handy, you might be able to install such a system yourself!
In this blog post, we’ll share the pros and cons of DIY water softener installation before deep-diving into the key steps you need to take for a successful installation.
DIY Installation Pros And Cons
If you’re pretty handy, like to get your hands dirty, and don’t mind spending time figuring things out, you can definitely install your water softener yourself.
Here are the main pros to installing your water softener yourself:
- Money: if you know what you’re doing and do it well, you’ll save a significant amount of money on installation costs. Indeed, with labor costs ranging between $200 and $600 depending on the system’s complexity, installing the system yourself is definitely worth it.
- Quicker: if you’re eager to get things going and want to start removing calcium and magnesium from your water as soon as possible, purchasing the system and installing it yourself might be the best solution. This way, you won’t need to wait for a professional to come to your home and do it for you.
Here are the main cons of installing your water softener yourself:
- Research: to ensure you’ve installed your water softener properly and that it functions correctly, you’ll need to do extensive research and have intermediate plumbing knowledge. Not only will you need to know everything about your plumbing system and installing a water softener, but you’ll also need to make sure you’re purchasing the right product for your home.
- Increased Risks: if you don’t install your water softener properly, you might run into issues later down the road. For instance, if you pipe your water softener backward, the resin in the tank might damage your water fixtures pretty badly and let calcium and magnesium filter into your water.
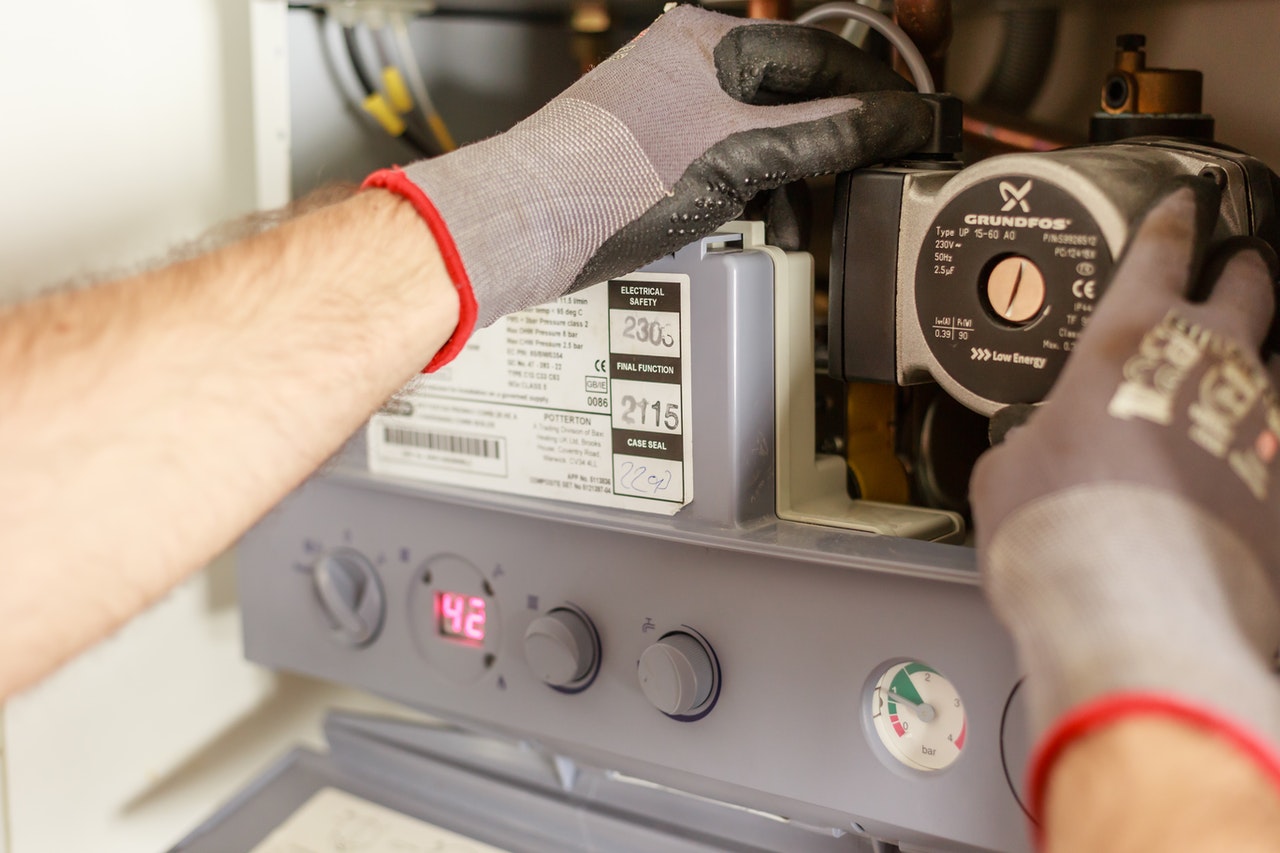
Professional Water Softener Installation Pros and Cons
In some cases, it might be wiser to leave water softener installation to the pros.
Here are the pros of hiring a professional:
- Proper installation: this is a pretty big pro. Hiring a professional will ensure your water softener is installed correctly and functions efficiently. This way, you know that your water fixtures and appliances are protected and that your water is healthy.
Some of the main cons of hiring a professional to install your water softener include:
- Availability: when booking a date for your system to be installed, you’ll be subject to the professional’s availability. This means that you could have to wait for longer than you would like to fix your hard water issue.
- Cost: as discussed before, the main drawback of using a professional to install your water softener is the cost.
How To Install A Water Softener Yourself?
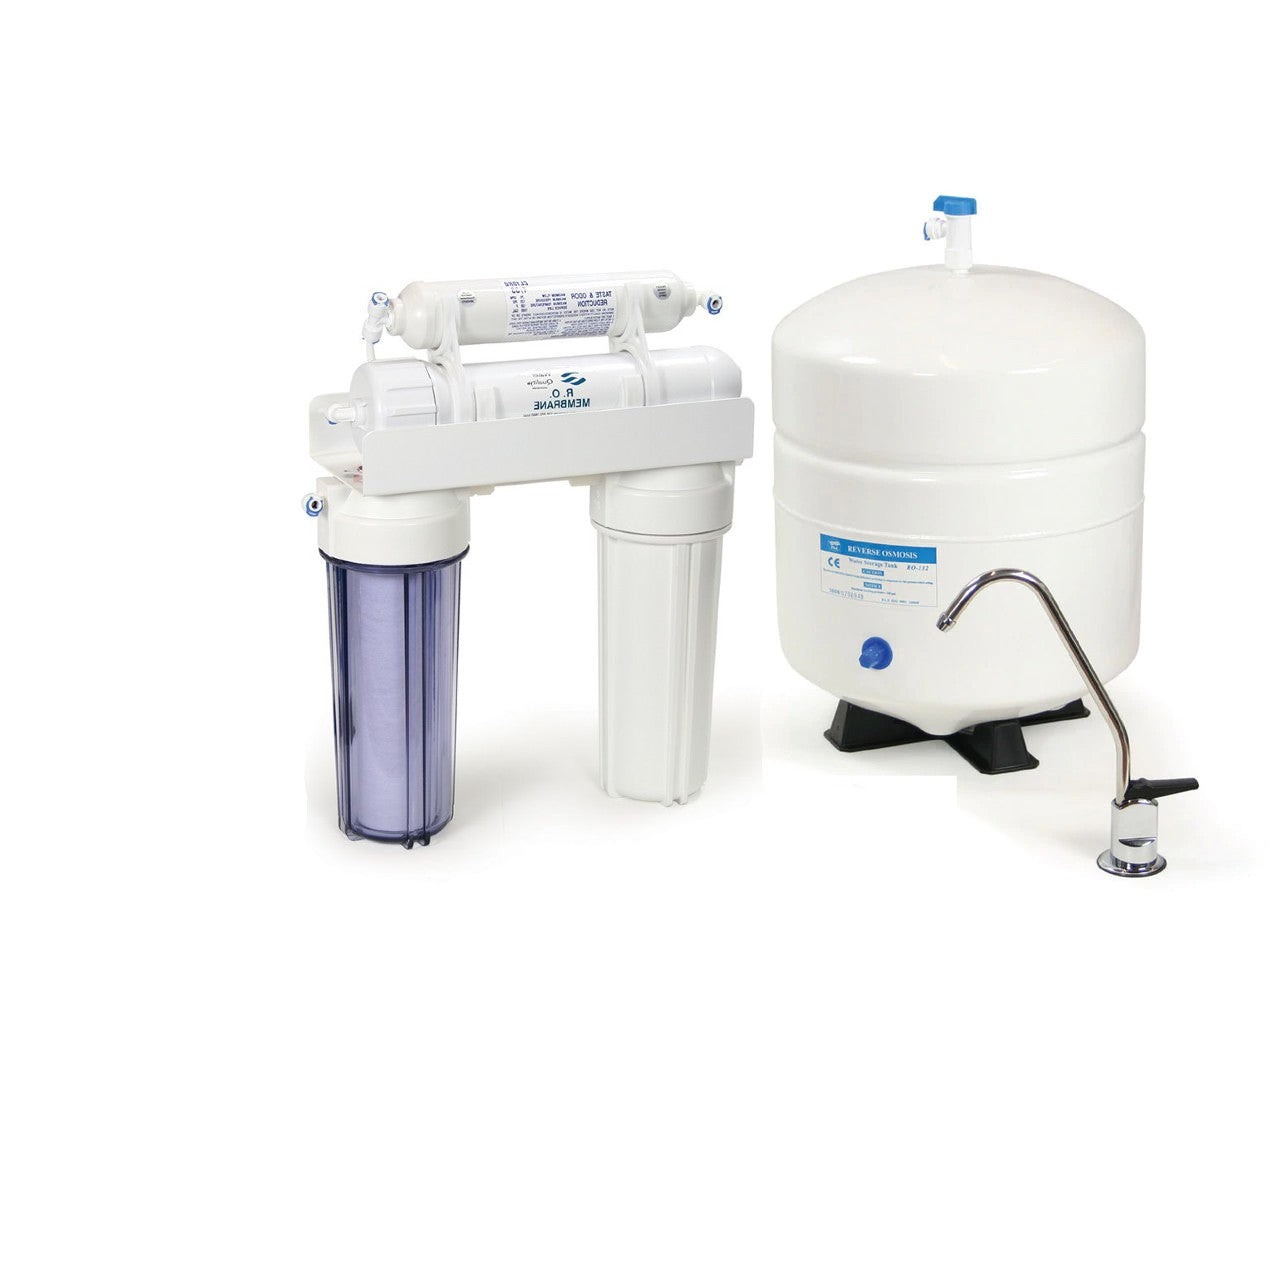
A water softener has two components: a salt tank and a resin tank.
Now, before starting to install your water softener, make sure to read the manufacturers’ instructions that come with the system.
- Turn off the water and the power to the hot water heater.
- Turn on all faucets in your home. This way, you’ll be able to drain out all the water contained in the pipes. And do the same with the outside hoses.
- Place the two tanks next to each other in a dry and level place.
- Use a measuring tape to measure the length between your cold water pipe and the bypass ports located on your water softener tank.
- Read the manufacturer’s instructions to guide you in installing the discharge tube on the head of the water softener.
- Run both the discharge and the overflow tubes into a drain (you need to make sure you have adequate drainage before installing your water softener).
- Install the bypass valve onto the water conditioner’s head valve.
- Connect the copper tubing through which water flows to the bypass valve.
- Connect the water softener’s copper tubing to the water lines (solder).
- Turn your water back on.
- Plug the control valve. Add approximately 4 gallons of water to the brine tank (read manufacturers’ instructions before proceeding).
- Put your water softener into backwash mode and turn the bypass valve on.
- Once the water flows normally into the drain, turn the water supply valve on.
- Run a couple of backwash (or regeneration) cycles.
- Ensuring there aren't any leaks during the backwash cycles. If water is leaking, you need to check your soldering and tighten the nuts.
AtFilterSmart, we’re committed to helping our clients access healthy and pure water. That’s why we manufacture easy-to-install salt-free water softeners. The built-in bypass valve makes installation quick and hassle-free, allowing you and your family to enjoy crystal clear water instantly. So, don’t hesitate to contact us to discuss your needs. We’d be happy to help!